In course
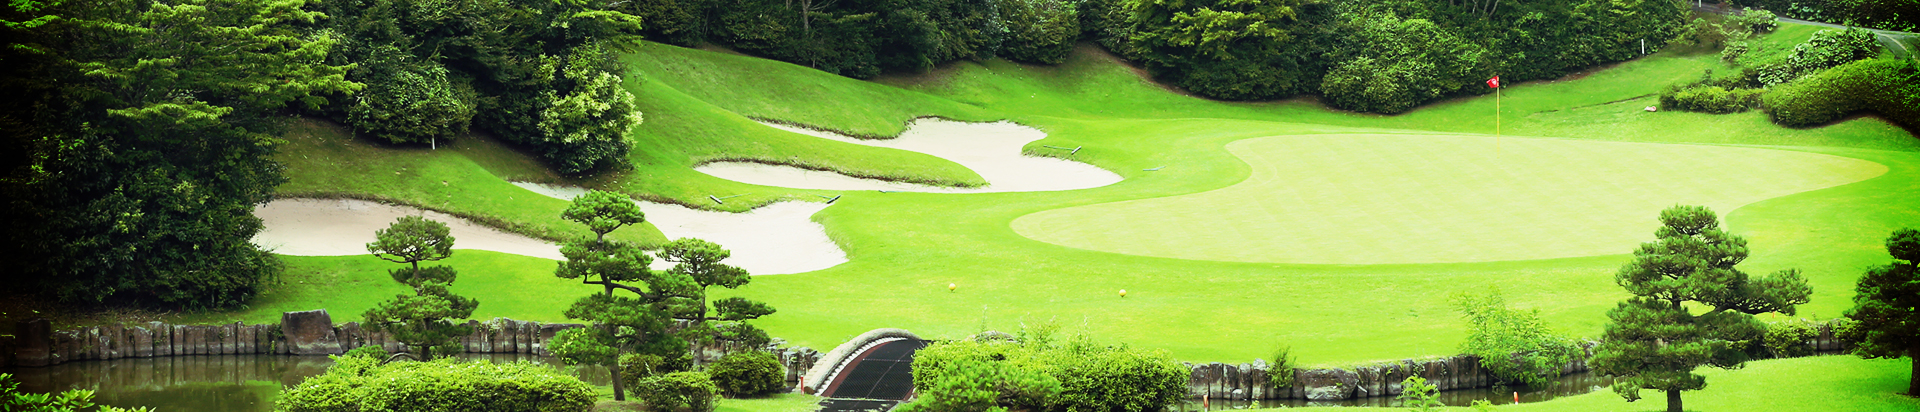
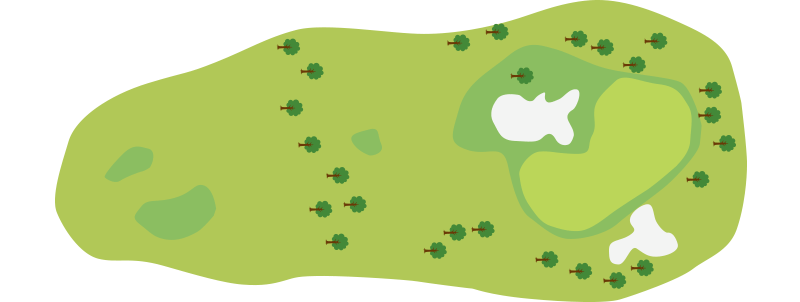
「丘の景観」
インコースはアウトコースにくらべ、いっそう戦略的なコース。第一打の正確なプレイスメント、第二打の正確な飛距離感がきわめて重要。
また広いベントのワングリーンは微妙なアンジュレーションをもち、「もうひとつのゴルフ」を要求します。ベテランの挑戦意欲をかきたて、ビギナーにとっても奥行きの深さを実感できるエキサイティングなコースです。
グランフィールズが立地する箱根西麗は、優れた眺望と変化に富んだ地形を特色とします。コース内には2メートルに及ぶ貴重な古木があり、ヒノキの美林があり、明るい広葉樹林が広がっています。
コース設計にはこうした特徴的な地形や植生を最大限取り入れました。
インコースはダイナミックな渓流と丘陵の起伏、もとからこの地にあった樹木を生かした「丘の景観」が主張となっています。
The back 9 is more challenging than the front 9. The tee shot requires accurate placement, and the second shot requires precise distance control. The wide greens of the back 9, designed to preserve natural undulation, will motivate experienced players. Also, the fine course will be very attractive to beginners. The course is located at the western foot of Mt. Hakone, which features brilliant scenery and a terrain rich in variety. Old precious trees reach 2 meters in height, such as the beautiful forests of Japanese cypress, and bright deciduous forests. The course represents the geographical character of the area, which includes a dynamic mountain stream, the undulations of the hill, and untouched forests.
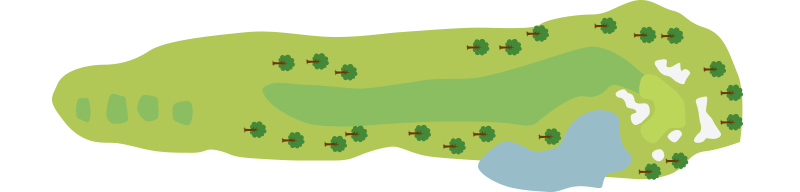
Hole No.10
緩やかなS字を描く打ち下しのロングホール。
ティーショットはフェアウェイバンカーの上を狙ってツーオンのチャンスがありますが、左サイドのペナルティーエリアに要注意。手堅く行くならフェアウェイバンカー右サイドを狙い。第2打は右OBに注意しながら第3打で得意な距離を残しましょう。グリーン左に大きなガードバンカー、右にグラスバンカーがあります。
A gentle double dogleg downhill par 5. If the tee shot is successfully placed over the fairway bunker, it is possible to reach the green in two shots, but be careful of the penalty area on the left. The safer option is to aim for the right side of the fairway bunker. Avoid the out-of-bounds with your second shot and leave the exact distance for your third. A large bunker guards the left side of the green, with a grass bunker on the right.
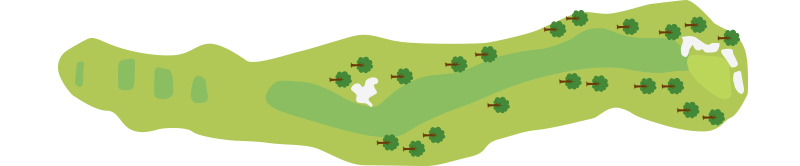
| Hole | Champion Tee/Black | Back Tee/Blue | Regular Tee/White | Front Tee/Red | Par | Handicap |
|---|---|---|---|---|---|---|
| 10 | 536 | 498 | 466 | 436 | 5 | 12 |
単位/unit:ヤード/yard
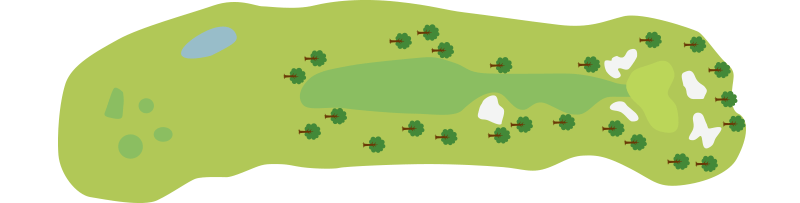
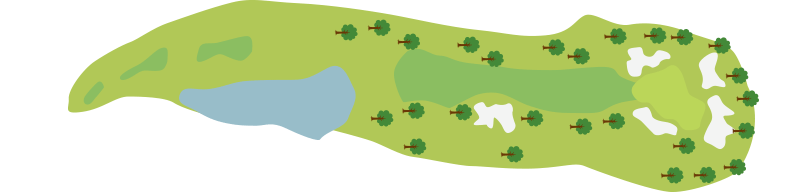
Hole No.11
コースを代表する秀逸なショートホール。縦長のグリーンは正確な距離感が求められます。距離もたっぷりあるので方向性よりも確実に池越えを。打ち下ろしの分、グリーンは比較的ボールが止まりやすいので上級者はピンをデッドに狙えます。
An excellent par 3 that represents the back 9. The vertically oriented green demands accurate distance control. To cross the pond, distance control is more important than direction. Given the downhill slope, advanced players can aim directly at the pin as the green tends to stop the ball.

| Hole | Champion Tee/Black | Back Tee/Blue | Regular Tee/White | Front Tee/Red | Par | Handicap |
|---|---|---|---|---|---|---|
| 11 | 217 | 202 | 180 | 121 | 3 | 6 |
単位/unit:ヤード/yard
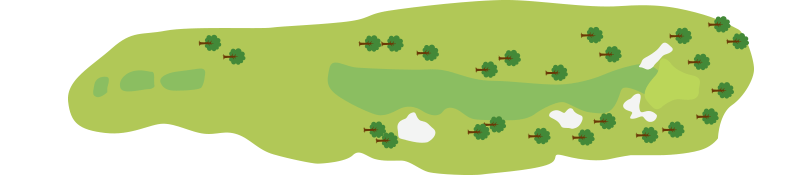
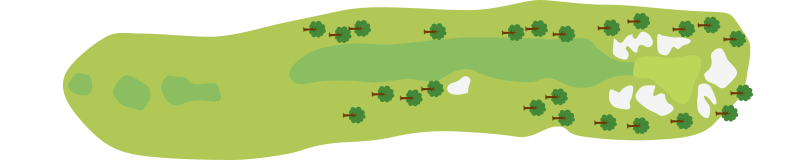
Hole No.12
距離は短いがフェアウェイは狭いホール。フェアウェイ右サイドのOB、バンカーを警戒しつつ、確実に左サイド狙い。第2打は緩やかな上りとなり距離感に注意。グリーン右側のグラスバンカー及び、グリーン奥も要注意です。
A short par 4 with a narrow fairway. Avoid the out-of-bounds on the right side of the fairway and a bunker, and aim for the left side. The second shot requires distance control to take into account the slight incline. Watch out for the back of the green and a grass bunker on the right side of the green.
| Hole | Champion Tee/Black | Back Tee/Blue | Regular Tee/White | Front Tee/Red | Par | Handicap |
|---|---|---|---|---|---|---|
| 12 | 393 | 353 | 347 | 335 | 4 | 18 |
単位/unit:ヤード/yard
Hole No.13
緩やかな上りで距離のあるミドルホール。ティーショットのランが期待できないので、第2打は距離が残ります。グリーンに近づくほど打上げとなるので、第2打のクラブ選択が難しくなります。左右のガードバンカー、特に右のバンカーは深くショットの難易度が上がり、更に左サイドにあるケヤキは第2打がスタイミーになることがあるので要注意。
A long uphill par 4. A tee shot on the uphill will leave distance for the second shot. The closer you get to the green, the harder it is to choose your club as the ground becomes steeper. The green is tightly bunkered on both sides. The right bunker is especially deep, while keyaki trees on the left may obstruct second shots.
| Hole | Champion Tee/Black | Back Tee/Blue | Regular Tee/White | Front Tee/Red | Par | Handicap |
|---|---|---|---|---|---|---|
| 13 | 428 | 402 | 369 | 322 | 4 | 2 |
単位/unit:ヤード/yard
Hole No.14
2mを超える高低差のある2段グリーンを有する谷越えのショートホール。2段グリーンの上下ピン位置によってクラブ選択は異なるので慎重に。上段にピンがある場合は左に外す覚悟、下段にピンがある場合は多少右に外してもよい覚悟で!距離、方向性両方の精度を求められる難関コースです。
A par 3 with a 2-tier green, that has more than 2 meters of elevation difference, and a valley. Depending on where the pin is on the tier, you will need to differentiate your club. The pin on the top level requires players to be prepared for their shots to miss to the left. The pin on the lower level requires players to be willing to let their shots miss to the right. This is a challenging hole that requires accuracy in both distance and directional control.
| Hole | Champion Tee/Black | Back Tee/Blue | Regular Tee/White | Front Tee/Red | Par | Handicap |
|---|---|---|---|---|---|---|
| 14 | 191 | 163 | 150 | 96 | 3 | 10 |
単位/unit:ヤード/yard
Hole No.15
駿河湾に視界を収め、爽快なティーショットが打てる緩やかに打ち下ろすミドルホール。ティーショットで210ヤード以上飛ばせば勾配を使って飛距離も稼げます。グリーンの背景が抜けているので第二打の距離感には注意。ヤーデージ表示を信じてショットしてください。
A downhill par 4 with views of Suruga Bay. The tee shots have perfect scenery. Take advantage of the distance offered by the slopes for tee shots longer than 210 yards. The back of the green is clear, and the second shot should be calibrated with yardage.
| Hole | Champion Tee/Black | Back Tee/Blue | Regular Tee/White | Front Tee/Red | Par | Handicap |
|---|---|---|---|---|---|---|
| 15 | 438 | 406 | 383 | 338 | 4 | 14 |
単位/unit:ヤード/yard
Hole No.16
フェアウェイが狭く感じる緩い打上げのミドルホール。
左サイドに曲げると林越えの打上げの急斜面で難易度の高いリカバリーショットが要求されます。スコアーメイクにはフェアウェイが絶対条件、右バンカー手前を狙うのも戦略です。第2打はピン位置に惑わされずグリーンセンター狙いが得策です。
A gentle uphill par 4 that appears to be a narrow fairway. Shots that bend to the left require a recovery shot over the woods on the steep slopes. A strategy to score would be to aim for the fairway in front of the right bunker. The second shot should approach the middle of the green, regardless of the position of the pin.
| Hole | Champion Tee/Black | Back Tee/Blue | Regular Tee/White | Front Tee/Red | Par | Handicap |
|---|---|---|---|---|---|---|
| 16 | 378 | 341 | 290 | 275 | 4 | 16 |
単位/unit:ヤード/yard
Hole No.17
5番ホールと並びグランフィールズCCを代表するロングホール。ティーショットはフェアウェイ左サイド狙い。第2打は緩やかな下り傾斜で距離も稼げますが、右の林を超えるとOBが待っています。グリーンは2段になっているのでパッティングは慎重に。
The longest par 5 on the back 9 represents Grand Fields Country Club. The tee shot targets the left side of the fairway. The second shot can gain extra yards on the slope, but there is out of bounds behind the woods on the right. The 2-tiered green requires an accurate putt.

| Hole | Champion Tee/Black | Back Tee/Blue | Regular Tee/White | Front Tee/Red | Par | Handicap |
|---|---|---|---|---|---|---|
| 17 | 650 | 582 | 552 | 477 | 5 | 4 |
単位/unit:ヤード/yard
Hole No.18
左右を木々に囲まれたミドルホール。
ティーショットを左右の林に打ち込むと、難しいリカバリーショットを強いられます。フェアウェイキープのティーショットの精度が求められます。
グリーンは5つのガードバンカーに守られ、さらに2段グリーンとなっているため2打目の距離感、方向性が重要です。
A par 4 surrounded by trees on both sides. Tee shots that end up in the woods will require challenging recoveries. Keeping the ball on the fairway requires an accurate tee shot. The 2-tiered green, protected by 5 bunkers, requires players to calibrate direction and distance with a second shot.
| Hole | Champion Tee/Black | Back Tee/Blue | Regular Tee/White | Front Tee/Red | Par | Handicap |
|---|---|---|---|---|---|---|
| 18 | 397 | 360 | 324 | 303 | 4 | 8 |
単位/unit:ヤード/yard
Total Tee
アウトコース9ホールの合計ヤーデージとパーの一覧です。
This table shows the total yardage and par for the nine holes of the out course.
| Hole | Champion Tee/Black | Back Tee/Blue | Regular Tee/White | Front Tee/Red | Par |
|---|---|---|---|---|---|
| 10 | 536 | 498 | 466 | 436 | 5 |
| 11 | 217 | 202 | 180 | 121 | 3 |
| 12 | 393 | 353 | 347 | 335 | 4 |
| 13 | 428 | 402 | 369 | 322 | 4 |
| 14 | 191 | 163 | 150 | 96 | 3 |
| 15 | 438 | 406 | 383 | 338 | 4 |
| 16 | 378 | 341 | 290 | 275 | 4 |
| 17 | 650 | 582 | 552 | 477 | 5 |
| 18 | 397 | 360 | 324 | 303 | 4 |
| Total | 3628 | 3307 | 3061 | 2703 | 36 |
単位/unit:ヤード/yard