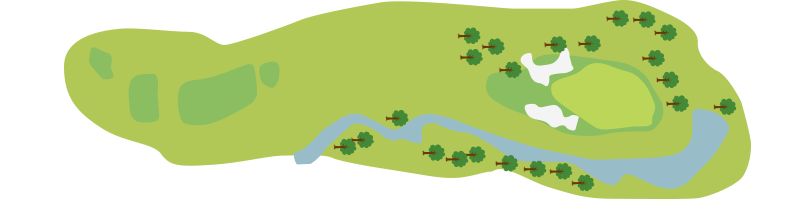
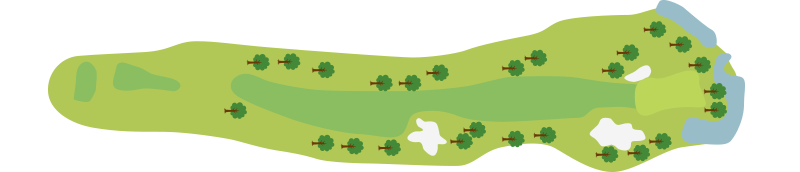
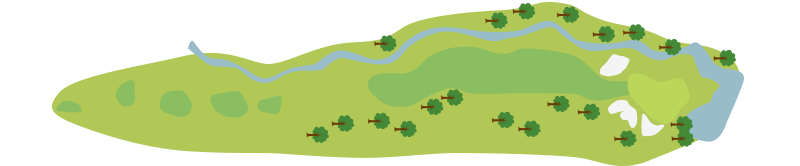
Out course
「里の景観」
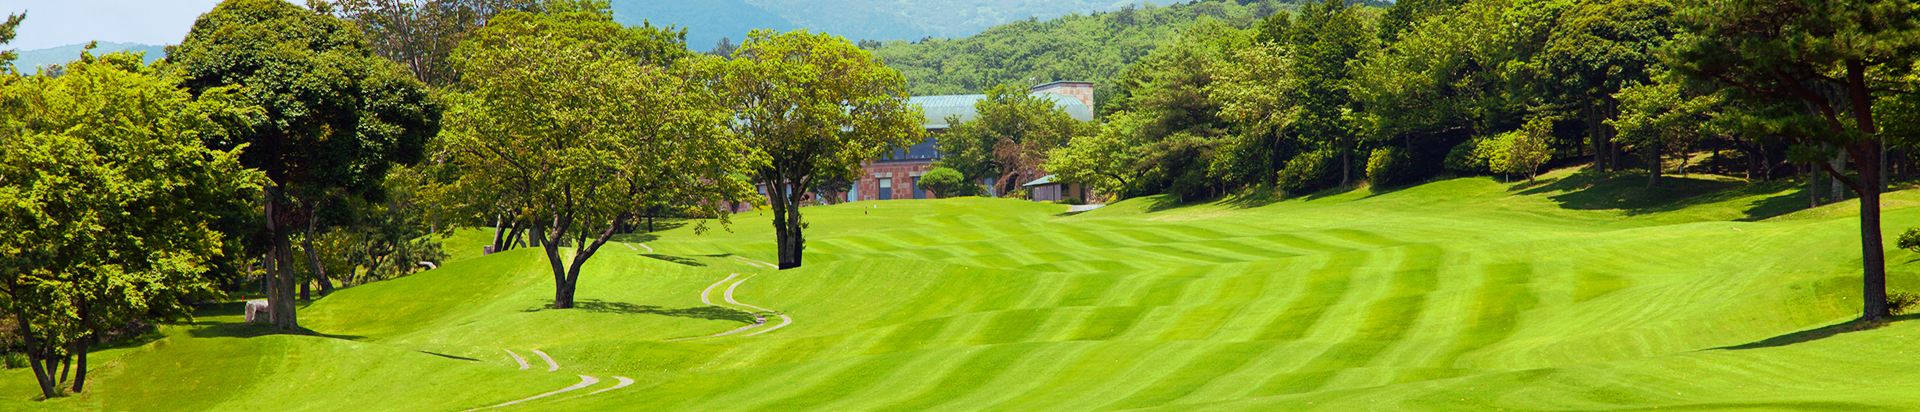
クラブハウスを出て純日本風の回遊庭園を歩き、目を西に向ければ秀麗な富士山を眺めることができます。
その姿をしばし眺めたあと、パッティング練習場へ。
駿河湾を見下ろすティーグランドに立ち、第一打を思い切り豪快に打ち下ろす。
すべてをドライバーのヘッドにこめ、素直に、そしてダイナミックに…。
アウトコースは、大自然の息吹とともに呼吸し、風景を楽しみながら、のびのびと心を開いてプレイできることを意図したおおらかな景観設計。
ゆるやかな緑の起伏、渓流のせせらぎ、茶畑、咲き乱れる花園、そして大滝と、「里の景観」を主張としてデザインされています。
In front of the clubhouse is a traditional Japanese garden. A stunning view of Mt. Fuji will catch your eye to the west. After enjoying the scenery, get ready for the practice putting green. Standing at the tee ground overlooking Suruga Bay, you can hit your first great shot. The course was designed with the idea of an authentic Japanese landscape to enjoy the scenery and play without restraint. Take a deep breath and immerse yourself in the beauty of nature. The terrain is gently rolling, with a flowing stream, beautiful tea and flower gardens, and a waterfall.
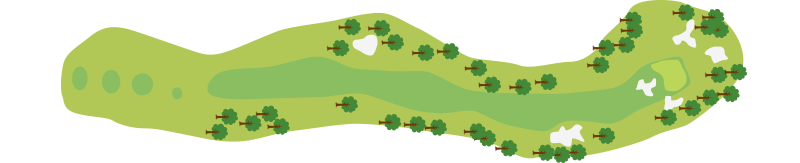
Hole No.1
駿河湾に向かって緩やかに打ち下すロングホール。
ティーショットはフェアウェイセンターやや左側を狙って打つ。(飛距離の出る方はティーショットで右側を狙い、第2打でグリーンを狙うことも可能)
A par 5 towards Suruga Bay that slopes gently from front to back. The tee shot will be aimed to the left of the middle of the fairway. For long hitters, there is a chance to approach with a second shot if the tee shot successfully travels a long distance to the right side of the fairway.
| Hole | Champion Tee/Black | Back Tee/Blue | Regular Tee/White | Front Tee/Red | Par | Handicap |
|---|---|---|---|---|---|---|
| 1 | 560 | 529 | 501 | 469 | 5 | 13 |
単位/unit:ヤード/yard
Hole No.2
左サイドにOBがあり右は林の傾斜地。
ティーショットはフェアウェイ右へ狙う方が第2打は打ちやすい。但し、右フェアウェイバンカーが約210ヤード地点に構えています。グリーンは2段グリーンなので、ピン位置によっては1番手上のクラブ選択も必要です。(ショートアイアンの精度次第でバーディーも十分狙えます)
Out-of-bounds runs along the left side of the hole, with steep woods on the right. The tee shot should be on the right side of the fairway to make the second shot easier. However, there is a fairway bunker on the right at about 210 yards. The two-tiered green will require a club up, depending on the location of the hole. Accurate short irons will give you a chance for a birdie.
| Hole | Champion Tee/Black | Back Tee/Blue | Regular Tee/White | Front Tee/Red | Par | Handicap |
|---|---|---|---|---|---|---|
| 2 | 405 | 351 | 328 | 302 | 4 | 17 |
単位/unit:ヤード/yard
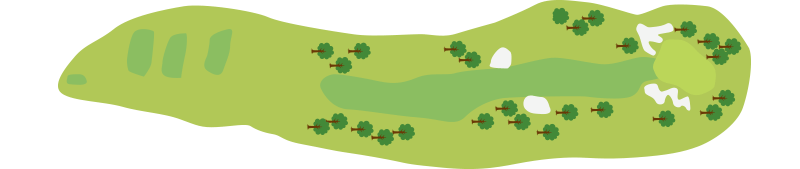
Hole No.3
左ドッグレッグの戦略性が求められるミドルホール。
左丘を越えたショットは成功すればバーディーチャンスですが、ペナルティーをうけるリスクが高まります。ティーショットは正面バンカーを避けて左へ打てればベスト。フェアウェイ右も比較的浅いのでティーショットの成否がスコアーに大きく影響します。(ティーショット280ヤードのビックショットでチャンスホールにも!)
A dogleg left par 4 requires a strategy. Successful Shots over the knoll on the left provide a chance of a birdie, but it will risk a penalty. The best tee should be on the left, avoiding the front bunker. The tee and the relatively shallow fairway on the right will affect your score. Tee shots that are carried 280 yards will have a chance to produce excellent scores.
| Hole | Champion Tee/Black | Back Tee/Blue | Regular Tee/White | Front Tee/Red | Par | Handicap |
|---|---|---|---|---|---|---|
| 3 | 400 | 379 | 353 | 313 | 4 | 3 |
単位/unit:ヤード/yard
Hole No.4
フェアウェイ右側にクリークが流れる若干打上げのショートホール。
グリーン手前に左右ガードバンカーがあります。距離感も大切ですが、このホールは方向性を重視しましょう。ティーショットを左へ外すと、第2打は昇り急斜面の林越えになるので要注意。
An uphill par 3 with a stream on the right side of the fairway. There are bunkers on either side of the green. The hole requires more accurate directional control than distance. Beware of missing your tee shot to the left, which will result in a second shot over the woods with a steep slope.
| Hole | Champion Tee/Black | Back Tee/Blue | Regular Tee/White | Front Tee/Red | Par | Handicap |
|---|---|---|---|---|---|---|
| 4 | 205 | 191 | 164 | 143 | 3 | 9 |
単位/unit:ヤード/yard
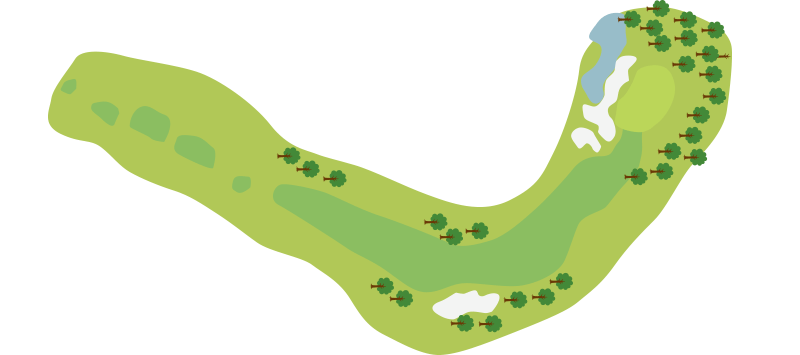
Hole No.5
ハンディーキャップ1の距離のある649ヤードの超ロングホール。
フェアウェイはやや右に傾斜しています。右側は林が続くのでティーショットは左のバンカー手前を狙うのがセオリー。大きなグリーンは見た目より受け勾配が強いのでピン手前から手堅く攻めるのがベスト。
This is the longest par 5 on the front 9, which is 649 yards. The fairway slopes slightly to the right. The tee shot will be aimed to the left in front of the bunker, as there are woods on the right side of the hole. The large green has a disguised slope, so the best option should be to putt from in front of the pin.
| Hole | Champion Tee/Black | Back Tee/Blue | Regular Tee/White | Front Tee/Red | Par | Handicap |
|---|---|---|---|---|---|---|
| 5 | 649 | 603 | 561 | 447 | 5 | 1 |
単位/unit:ヤード/yard
Hole No.6
距離の短い谷越えのサービスホール。
プレッシャーは感じますが、チャンピオンティーからはティーショットで210ヤード以上打てれば谷は十分クリアーできます。右林を避けてフェアウェイを狙いましょう。第2打は緩やかに上っているのでクラブ選択に注意。グリーン奥は比較的狭くなっています。
A short par 4 with a valley. The 210+ yard tee shot from the black tee should be enough to get over the valley. Avoid the woods on the right to place the ball on the fairway. The second shot requires careful club selection, as the fairway is slightly uphill. The back of the green is relatively narrow.
| Hole | Champion Tee/Black | Back Tee/Blue | Regular Tee/White | Front Tee/Red | Par | Handicap |
|---|---|---|---|---|---|---|
| 6 | 381 | 348 | 318 | 295 | 4 | 11 |
単位/unit:ヤード/yard
Hole No.7
正確な距離が求められる谷越えのショートホール。
眼下に見下ろすグリーンまで続く大きな谷。城壁に守られたようなグリーンは奥行きがなく横広な形状。ティーグランド上で感じる風と谷、グリーン上の風は必ずしも同じではなく、キャディーの意見を是非聞いて下さい。グリーン奥からは難易度の高いアプローチが求められ、総距離が合わせられるかが最重要となります。
A par 3 with a valley demands precise distance control. Looking down the valley to the wide and shallow green, which appears to be protected by a castle wall. The wind on the green is not always the same as on the tee ground. Therefore, it is a good idea to get your caddie’s opinion. Approach shots from behind the green require advanced skills to estimate the total distance.
| Hole | Champion Tee/Black | Back Tee/Blue | Regular Tee/White | Front Tee/Red | Par | Handicap |
|---|---|---|---|---|---|---|
| 7 | 197 | 177 | 141 | 106 | 3 | 5 |
単位/unit:ヤード/yard
Hole No.8
グリーンが視界に入る比較的攻めやすいミドルホール。
約200ヤード地点右側にフェアウェイバンカーがありますが、豪快なティーショットを受け入れてくれるホールです。右バンカーからドローボールで狙いたいホール、フェアウェイが狭い為バンカー手前にティーショットを狙うのもあり。グリーンは傾斜と芝目の影響があり、ボールの足がグリーン奥に早く流れやすくなっています。
This par 4 is one of the most clearly visible holes from the tee, making it easier for players to judge their shots. The dynamic tee shots are easily received, although there is a fairway bunker on the right at about 200 yards. The hole is targeted with a draw ball from the right bunker, or a tee shot in front of the bunker is an option, as the fairway is relatively narrow. The grain of the turf and the slope of the green cause the ball to run fast behind the green.
| Hole | Champion Tee/Black | Back Tee/Blue | Regular Tee/White | Front Tee/Red | Par | Handicap |
|---|---|---|---|---|---|---|
| 8 | 397 | 382 | 356 | 324 | 4 | 15 |
単位/unit:ヤード/yard
Hole No.9
フェアウェイ左側をクリークが流れる緩い打上げのミドルホール。
ティーショットはそのクリークを避けてフェアウェイセンターから右側を狙います。第2打は緩い打上げの距離感に注意しクラブ選択は慎重に。右のラフはノーチャンス、左はクリークとティーショットの精度が求められます。グリーン奥の滝と池の景観にしばし癒されるでしょう。
A par 4 that slopes slightly from back to front with a stream on the left side of the fairway. When making your tee shot here, aim for the right side of the middle of the fairway to avoid the stream. For the second shot, be careful of the distance and your club selection. If your ball lands on the right rough, it will be hard to get a good score. On the left, you should be careful of the stream and need to hit an accurate shot. The waterfall and the scenic pond behind the green will help you to feel relaxed.
| Hole | Champion Tee/Black | Back Tee/Blue | Regular Tee/White | Front Tee/Red | Par | Handicap |
|---|---|---|---|---|---|---|
| 9 | 435 | 380 | 346 | 281 | 4 | 7 |
単位/unit:ヤード/yard
Total Tee
| Hole | Champion Tee/Black | Back Tee/Blue | Regular Tee/White | Front Tee/Red | Par |
|---|---|---|---|---|---|
| 1 | 560 | 529 | 501 | 469 | 5 |
| 2 | 405 | 351 | 328 | 302 | 4 |
| 3 | 400 | 379 | 353 | 313 | 4 |
| 4 | 205 | 191 | 164 | 143 | 3 |
| 5 | 649 | 603 | 561 | 447 | 5 |
| 6 | 381 | 348 | 318 | 295 | 4 |
| 7 | 197 | 177 | 141 | 106 | 3 |
| 8 | 397 | 382 | 356 | 324 | 4 |
| 9 | 435 | 380 | 346 | 281 | 4 |
| Total | 3629 | 3340 | 3068 | 2680 | 36 |
単位/unit:ヤード/yard